
Last updated: March 2026
Lately, I’ve been asked to assist with setting up Keycloak behind a reverse proxy. While it may seem straightforward to redirect calls to the new backend, in this case, Keycloak, the reality is more complex. In this blog post, we will delve into the parameters essential for successfully configuring Keycloak behind a reverse proxy.
I’ll keep this guide light by providing example settings for Nginx. However, the underlying principles remain consistent across different platforms (HAProxy, IIS, etc.). For more detailed information, you can visit the official Keycloak documentation on reverse proxy setup: Keycloak Reverse Proxy Settings.
If you are feeling lazy and just want the docker-compose file that will get you a Keycloak setup running in seconds, use our Keycloak Docker Compose Generator and go have fun.
Otherwise, before diving into the tutorial, please ensure you have Docker and Docker Compose installed on your system. This tutorial uses Docker and Docker Compose to create a reproducible environment for everyone. We’ll start with this basic Keycloak setup, which you can easily launch and use for following along with the steps provided in this guide.
The basic skeleton is below:
version: '3'

services:
  keycloak:
    image: quay.io/keycloak/keycloak:23.0.7
    environment:
      KEYCLOAK_ADMIN: test
      KEYCLOAK_ADMIN_PASSWORD: test
      KC_LOG_LEVEL: INFO
    ports:
      - "8080:8080"
    command:
      - start-dev
Once you have your docker-compose ready, start using:
docker-compose upYou should see the logs of keycloak appearing. You should see the following:
Updating the configuration and installing your custom providers, if any. Please wait.
2024-03-06T16:05:08.425614961Z 2024-03-06 16:05:08,424 INFO  [io.quarkus.deployment.QuarkusAugmentor] (main) Quarkus augmentation completed in 3600ms
2024-03-06T16:05:09.878982087Z 2024-03-06 16:05:09,072 INFO  [org.keycloak.quarkus.runtime.hostname.DefaultHostnameProvider] (main) Hostname settings: Base URL: <unset>, Hostname: <request>, Strict HTTPS: false, Path: <request>, Strict BackChannel: false, Admin URL: <unset>, Admin: <request>, Port: -1, Proxied: false
2024-03-06T16:05:09.997134670Z 2024-03-06 16:05:09,996 WARN  [io.quarkus.agroal.runtime.DataSources] (main) Datasource <default> enables XA but transaction recovery is not enabled. Please enable transaction recovery by setting quarkus.transaction-manager.enable-recovery=true, otherwise data may be lost if the application is terminated abruptly
[......]
2024-03-06T16:05:14.542879464Z 2024-03-06 16:05:14,542 INFO  [org.keycloak.services] (main) KC-SERVICES0050: Initializing master realm
2024-03-06T16:05:15.453571464Z 2024-03-06 16:05:15,453 INFO  [io.quarkus] (main) Keycloak 23.0.7 on JVM (powered by Quarkus 3.2.10.Final) started in 6.955s. Listening on: http://0.0.0.0:8080
[.....]
Let’s keep in mind the 2 following lines:
Hostname settings: Base URL: <unset>, Hostname: <request>, Strict HTTPS: false, Path: <request>, Strict BackChannel: false, Admin URL: <unset>, Admin: <request>, Port: -1, Proxied: falseKeycloak 23.0.7 on JVM (powered by Quarkus 3.2.10.Final) started in 6.955s. Listening on: http://0.0.0.0:8080Here is what we remember with these 2 lines:
| Parameter | Value | Details |
|---|---|---|
| Network interface | 0.0.0.0 | Accessible through all interfaces locally. We will use localhost for now. |
| Exposed Port | 8080 | This means Keycloak is exposed to port 8080, requests made on a different port won’t reach Keycloak. |
| Base URL | Unset = / | This means all resources will be fetched from / and nothing else. This can be changed with –http-relative-path (KC_HTTP_RELATIVE_PATH) parameter. |
| Strict HTTPS | False | This means HTTPS is not enforced. This is ok since our proxy will do that work in the future. |
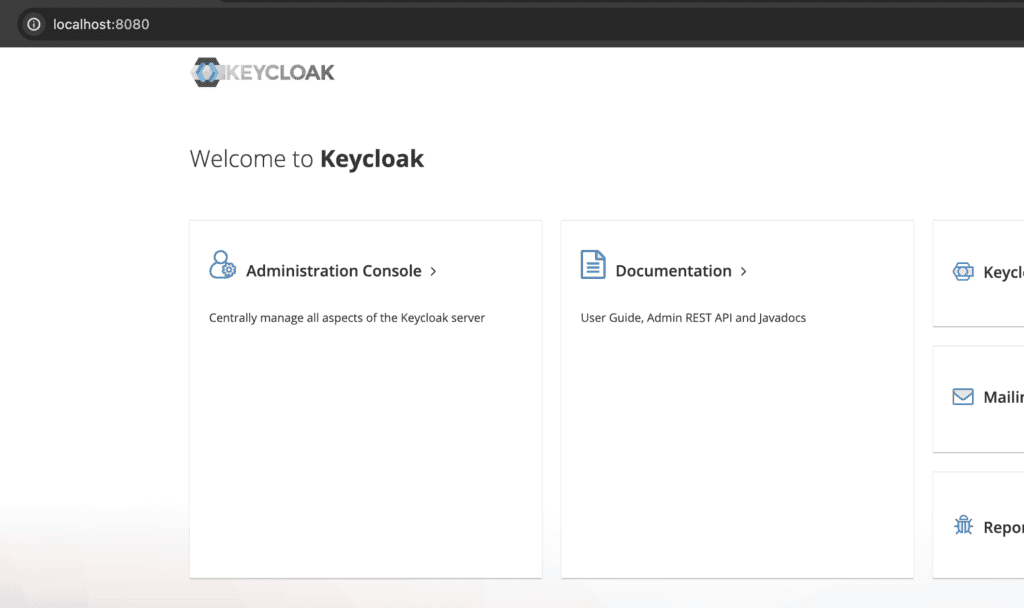
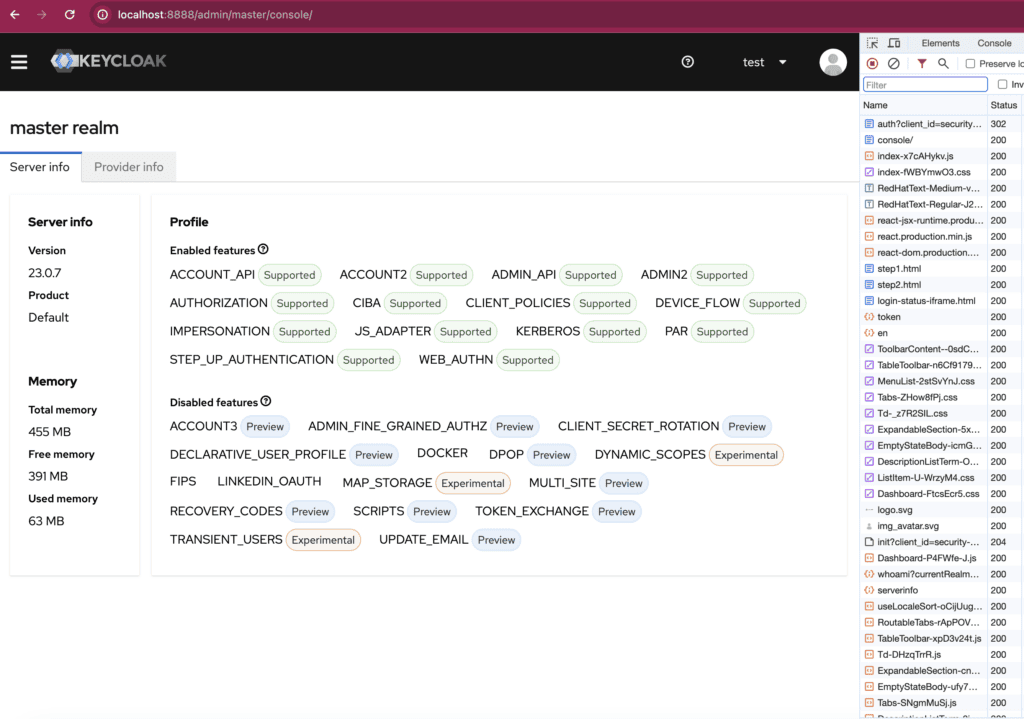
Afterwards, you should be able to access your Keycloak administration console:
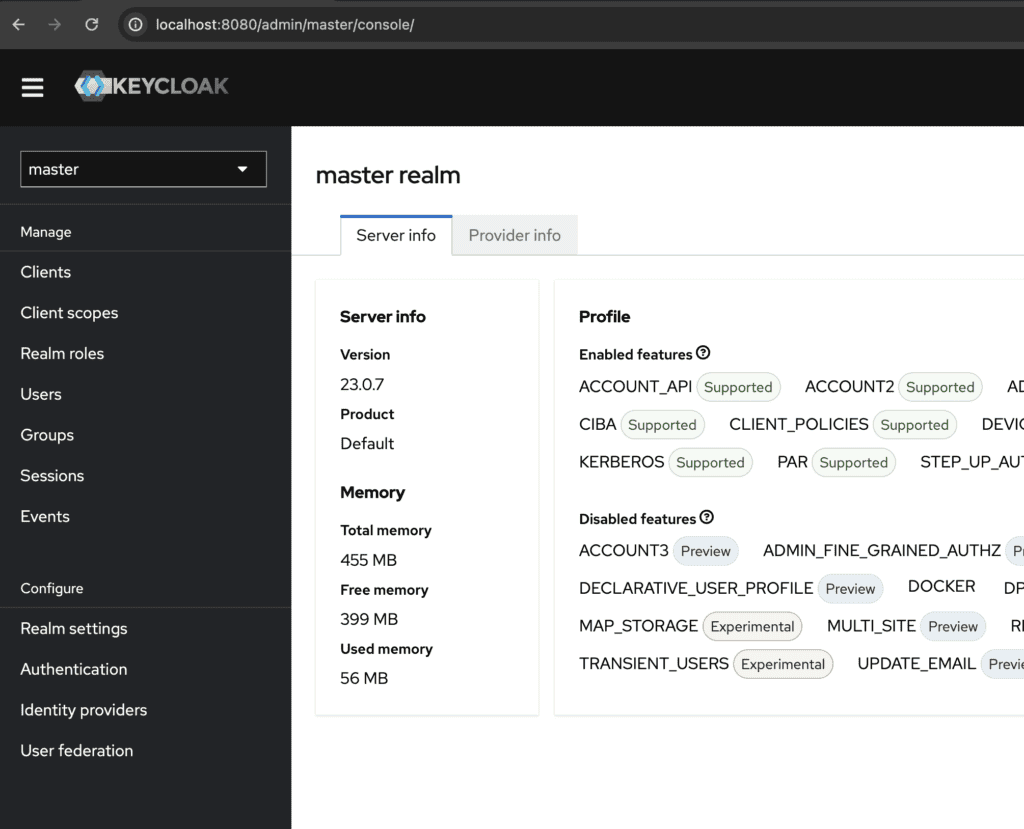
Use test as username and password. You should be able to login to the console and land on the master realm:
Great job reaching this stage! Now, let’s delve into adding a reverse proxy. But first, what exactly is a reverse proxy, and why is it essential for serving requests to our Keycloak server?
What is a Reverse Proxy?
A reverse proxy is a server that sits in front of one or more web servers, intercepting requests from clients. This server provides a gateway between users and your application, acting as an intermediary for requests directed to the backend servers. Reverse proxies are used for load balancing, improved security, caching content to speed up loading times, and handling SSL/TLS encryption.
Why Use a Reverse Proxy for Keycloak?
Couple of reasons why:
- Security: It adds an additional layer of defense, helping protect against attacks by hiding the identity of your Keycloak servers. For more on securing your Keycloak deployment, see our security practices.
- Load Balancing: It distributes incoming traffic among multiple Keycloak servers, ensuring no single server becomes overloaded, leading to better performance and reliability. For cluster best practices, check out Top 7 Keycloak Cluster Configuration Best Practices.
- Sticky Session: This feature ensures that client requests from the same session are directed to the same backend server each time.
- SSL Termination: It handles incoming HTTPS connections, decrypting requests and passing them to the backend servers as HTTP. This offloads encryption tasks from Keycloak, improving performance by reducing your CPU load.
- Caching: It can store static content, reducing the number of requests to the backend, which in turn reduces latency and improves the user experience.
- Compression: It can compress outgoing files, speeding up load times for end-users with slower internet connections.
Convinced? Let’s see how to set it up for Keycloak.
How to Setup a Reverse Proxy for Keycloak?
For Keycloak to function correctly behind a reverse proxy, it must recognize that it is serving a proxy rather than a direct user. This recognition is facilitated using HTTP headers, which indicate the original source of the requests. For more details, refer to this article: Understanding X-Forwarded-Headers and Their Usage.
We will proceed under the assumption that the network between the proxy and Keycloak is trustworthy and does not require re-encryption of communication. Please adjust this assumption based on your specific situation. We will also assume that you know how to redirect requests towards Keycloak with your own proxy (in this nginx example, we will use proxy_pass).
There are 2 types of forwarded headers. You don’t need to setup both. Either you use X-Forwarded-* or Forwarded. Let’s see how to set them up.
X-Forwarded Headers
| What | Why | How |
|---|---|---|
| Make the reverse proxy forward the X-Forwarded-For header | To forward the original client’s IP address | In nginx: proxy_set_header X-Forwarded-For $proxy_protocol_addr; |
| Make the reverse proxy forward the X-Forwarded-Proto header | To forward the original protocol (HTTP or HTTPS) | In nginx: proxy_set_header X-Forwarded-Proto $scheme; |
| Make the reverse proxy forward the X-Forwarded-Host header | To forward the original host | In nginx: proxy_set_header X-Forwarded-Host $host; |
Forwarded Headers
| What | Why | How |
|---|---|---|
| Make the reverse proxy forward the Forwarded header | This new header will have all the information of the X-Forwarded-* headers | In Nginx, adding the Forwarded header is slightly more complex since there isn’t a direct variable available for this. However, you can simulate its effect following instructions from the Nginx documentation. Once set up, you can implement the header in your configuration like so: proxy_set_header Forwarded $proxy_add_forwarded; |
Once you have configured the reverse proxy to forward the right headers, you need to setup Keycloak to know it’s behind a reverse proxy.
Important: KC_PROXY deprecation in Keycloak v24+
Starting with Keycloak v24, the
KC_PROXY/--proxyoption has been deprecated and will be removed in a future release. You should useKC_PROXY_HEADERS/--proxy-headersinstead, which explicitly specifies which forwarded headers Keycloak should accept (forwardedorxforwarded). TheKC_PROXY=edgemode is replaced by settingKC_PROXY_HEADERS=xforwarded(orforwarded) combined withKC_HTTP_ENABLED=true. See the Keycloak v24 release notes for full details.
Keycloak Configuration
| What | Why | How |
|---|---|---|
| Let Keycloak know which type of headers are being forwarded: “Forwarded” or “X-Forwarded-*“ | If not specified, Keycloak will treat itself as if there was no proxy running. | When starting Keycloak, provide the headers type using –proxy-headers parameter. For the new Forwarded header: bin/kc.[sh|bat] start --proxy-headers forwarded For the legacy X-Forwarded-*: bin/kc.[sh|bat] start --proxy-headers xforwarded Environment variable: KC_PROXY_HEADERS |
| Set Keycloak to HTTP mode and let the reverse proxy terminate the TLS connection (recommended) | If you enforce HTTPS at the proxy and at Keycloak as well, you will double the work | When starting Keycloak, provide the –http-enabled parameter: bin/kc.[sh|bat] start --http-enabled=true Environment variable: KC_HTTP_ENABLED |
| Set Keycloak to accept any hostname when receiving requests (recommended) | This will allow you to manage your hostname at a different level and keep it centralized. If your domain name changes tomorrow, you don’t need to worry about your reverse proxy and all your Keycloak instances. | When starting Keycloak, provide the –hostname-strict parameter: bin/kc.[sh|bat] start --hostname-strict=false Environment variable: KC_HOSTNAME_STRICT |
| Set Keycloak base path to the expected path your proxy will serve your auth requirements. | If you will redirect users to /auth, but Keycloak is expecting / as the base path, you will get 404s when redirects to resources are made. | When starting Keycloak, provide the –http-relative-path parameter: bin/kc.[sh|bat] start --http-relative-path=/ Environment variable: KC_HTTP_RELATIVE_PATH |
| DEPRECATED SINCE v24! Using the parameters above will be enough. Set Keycloak proxy mode to edge | By doing so, you allow the proxy to terminate TLS and start communicating with Keycloak using HTTP. | When starting Keycloak, provide the –proxy parameter: bin/kc.[sh|bat] start --proxy=edge Environment variable: KC_PROXY |
To test the setup by adding Nginx to the docker-compose file, you have two options. You can create a Dockerfile to build your custom Nginx configuration and use it in the docker-compose file, or you can map a local directory containing your Nginx configuration file to the appropriate directory inside the Nginx container. If your system allows volume mapping, the latter can be a more straightforward option for development environments. Here’s how you could approach it:
The Dockerfile
FROM nginx:1.25.4

COPY ./conf/nginx.conf /etc/nginx/nginx.conf
The nginx configuration
worker_processes 1;

events { worker_connections 1024; }

http {
    server {
        listen 80;

        location / {
            proxy_pass         http://keycloak:8080;

            proxy_set_header X-Forwarded-For $proxy_protocol_addr;
            proxy_set_header X-Forwarded-Proto $scheme;
            proxy_set_header X-Forwarded-Host $host;
            proxy_set_header X-Forwarded-Port 8888;
        }
    }
}
The final docker-compose
version: '3'
services:
nginx:
build: .
ports:
- "8888:80"
keycloak:
image: quay.io/keycloak/keycloak:23.0.7
environment:
KC_PROXY_HEADERS: xforwarded # Use this environment variable starting version 24
# KC_PROXY: edge # Only use this for versions older than 24
KC_HTTP_ENABLED: true
KC_HOSTNAME_STRICT: false
KEYCLOAK_ADMIN: test
KEYCLOAK_ADMIN_PASSWORD: test
KC_LOG_LEVEL: INFO
ports:
- "8080:8080"
command:
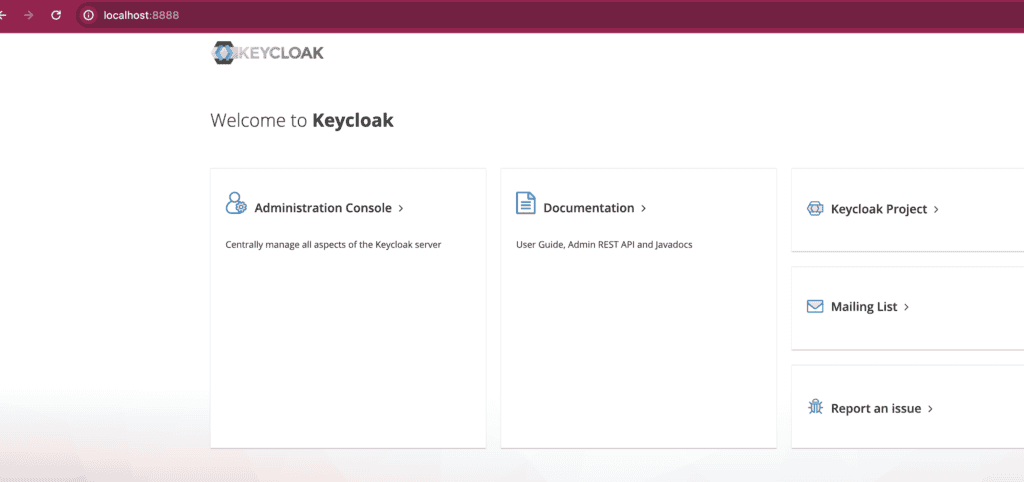
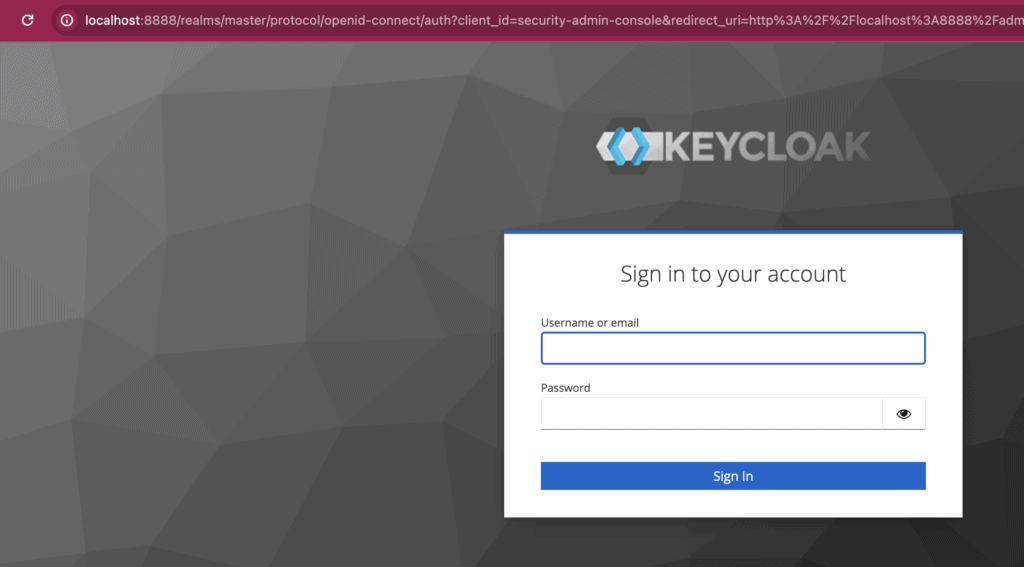
- start-devWhen you now open your browser and navigate to http://localhost:8888, you should see the Keycloak login page. Then you can proceed to login and even watch the network requests and confirm there are no errors.
If you’d rather skip the infrastructure management entirely, Skycloak’s managed Keycloak hosting handles reverse proxy configuration, SSL termination, and more out of the box.
Common Issues
Now that you’re familiar with setting up a reverse proxy, let’s explore some common errors you might encounter.
| Problem | Cause | Solution |
|---|---|---|
| You are getting redirected to the backend endpoint when clicking on a link. Then you may get a “DNS_PROBE_FINISHED_NXDOMAIN” error. | Keycloak doesn’t know it is being proxied. It could be the headers are missing or Keycloak is not set to the correct proxy mode. | Make sure that proxy parameter is set to “edge”. Either with KC_PROXY or –proxy. Make sure the headers are forwarded in the proxy. |
| The hostname is correct but the port is not kept when clicking on a link. You usually get an ERR_CONNECTION_REFUSED | Keycloak redirects to the good host, but not the good port. Make sure X-Forwarded-Port is pointing to the Proxy port. | In nginx: proxy_set_header X-Forwarded-Port 8888; |
| Most of your resources are returning 404s | The proxy is not directing the requests to the right backend endpoint of Keycloak. i.e. Keycloak is expecting xxx:8080 /base/resources/xxx.png, but the proxy is requesting at xxx:8080 /base/auth/resources/xxx.png | 1. Make sure the proxy is using the expected path by Keycloak, otherwise you will get Not Found errors. 2. Also, if your proxy is sending all the requests to /base and keycloak base path starts with /auth, you will get plenty 404s. Make sure that they match. The environment variable is KC_HTTP_RELATIVE_PATH or –http-relative-path as cli. 3. If you are using Nginx, make sure that your path is not being picked up by another location sub-configuration. To make sure it’s properly setup, you can use this tool to test your config for the redirection: https://nginx.viraptor.info/ |
| You receive a bad gateway error (502) | This simply means that the proxy cannot connect to Keycloak. It may be a misconfiguration on the proxy side if Keycloak is up and running | If keycloak is running on port 8787 for example, make sure the proxy is targeting the exact same port. This can also occur if Keycloak is restarting and is not available yet. In nginx, we could reproduce this error by referring to the wrong keycloak port. |
| You get a 403 preventing you (or your user) to get access to your account-console | If you are behind a proxy, Keycloak doesn’t know if its host is localhost or the domain assigned to it. Hence the need to pass the proxy settings. In doing so, when the proxy passes the details proxy v2 information (i.e. x-forwarded-for), it can impersonate the domain. But! If there is one misconfiguration, you may be led to think to set your web origin to * to make it work. This is dangerous and opens you up to the internet accessing your account-console URL. | Make sure that Keycloak knows it is behind a proxy. Look at your settings. If you are using hostname v2, make sure the type of proxy header is defined otherwise, all requests will be set to passthrough which will cause this issue specially on clients with required same web origin. |
For a deeper dive into deploying Keycloak in a containerized environment, see our guide on How to Deploy Keycloak in Kubernetes using ArgoCD. You can also refer to the Skycloak documentation for additional configuration guidance.
Free Goody
If you want to generate keycloak docker-compose configuration on the fly (AND WORKING), head right now to the tools section and use the Keycloak Docker Compose Generator. If you dare find any issue, let us know. Enjoy!

Ready to simplify your authentication?
Deploy production-ready Keycloak in minutes. Unlimited users, flat pricing, no SSO tax.


