Introduction to Default Clients
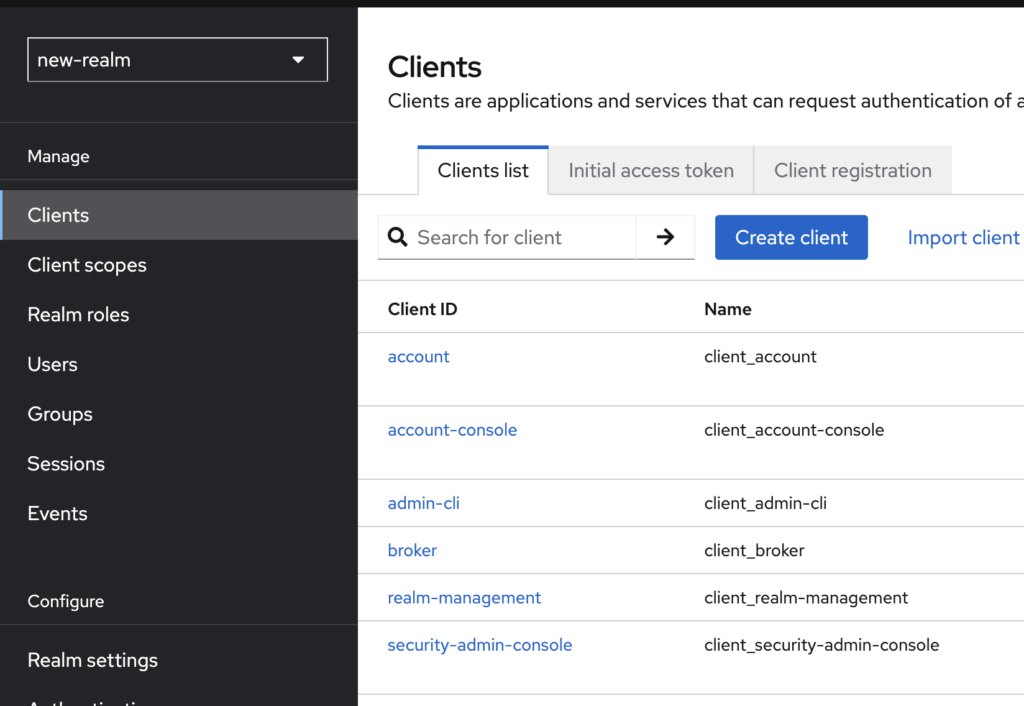
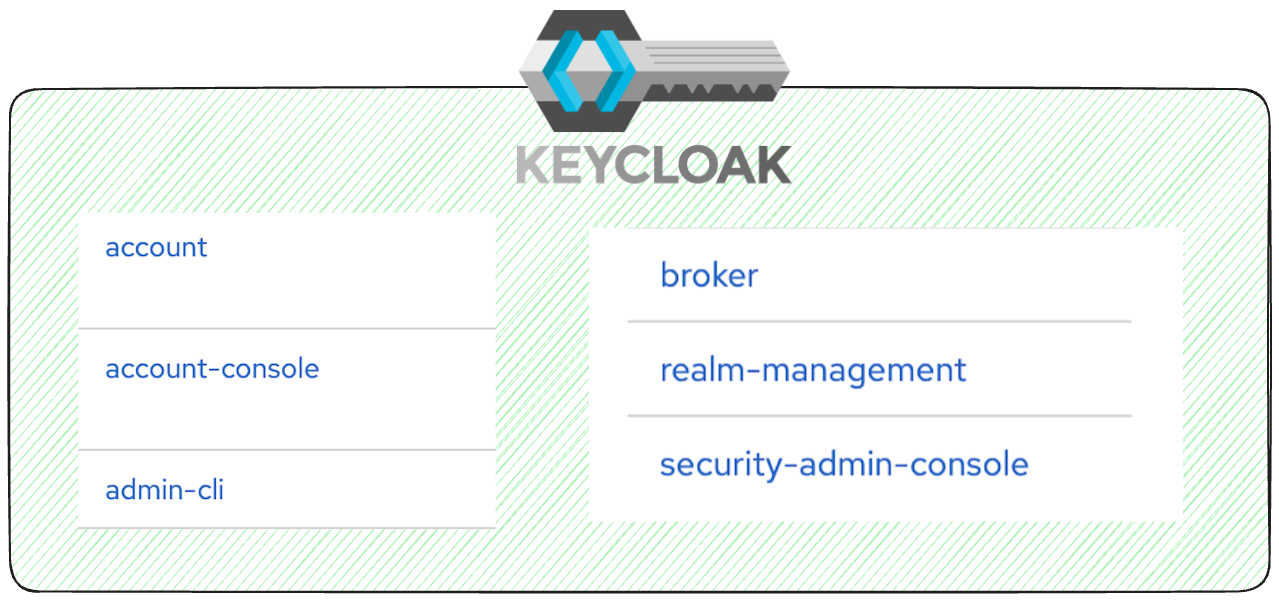
When you create a new Keycloak realm, several default clients are automatically generated. These clients enable core functionalities for managing users, realms, and external identity providers. Here’s a breakdown:
- account: Represents the backend for the account API, containing roles for managing user accounts. It is configured as an OIDC confidential client.
- account-console: Provides a frontend for user account management. This is an OIDC public client tailored for single-page applications.
- admin-cli: Used for managing realms via CLI tools like
kcadm.sh. For automated realm provisioning, a custom client using only client credentials is often preferred. - broker: Serves as the backend for identity brokering. For better control over redirect URIs, scopes, and mappings, dedicated backends for specific identity providers are recommended.
- security-admin-console: Manages the admin UI for a specific realm. If scoped to a non-master realm, it limits administrative capabilities to that realm only.
- realm-management: Provides the backend API for realm-specific management roles. This client does not exist in the master realm but is available for other realms.

Step 1: Audit and Understand Each Client
Understanding the purpose and configuration of each default client is crucial. Use the Admin Console to:
- Examine each client’s roles, settings, and scopes.
- Ensure that redirect URIs and protocol mappings are appropriate for your setup.
Step 2: Harden Security for Critical Clients
- account & account-console: Restrict user roles to authenticated accounts. Enhance security by enabling passwordless authentication using WebAuthn or passkeys.
- admin-cli: Limit access to specific administrators. For automated tasks, consider using a custom client configured for client credentials only.
- broker: Define strict redirect URIs, scopes, and protocol mappings to secure interactions with external identity providers.
- security-admin-console: Enforce two-factor authentication (2FA) and regularly monitor admin access logs.
- realm-management: Ensure only necessary roles are granted to users. Regularly review permissions and scopes.
Step 3: Manage Realm-Specific Clients
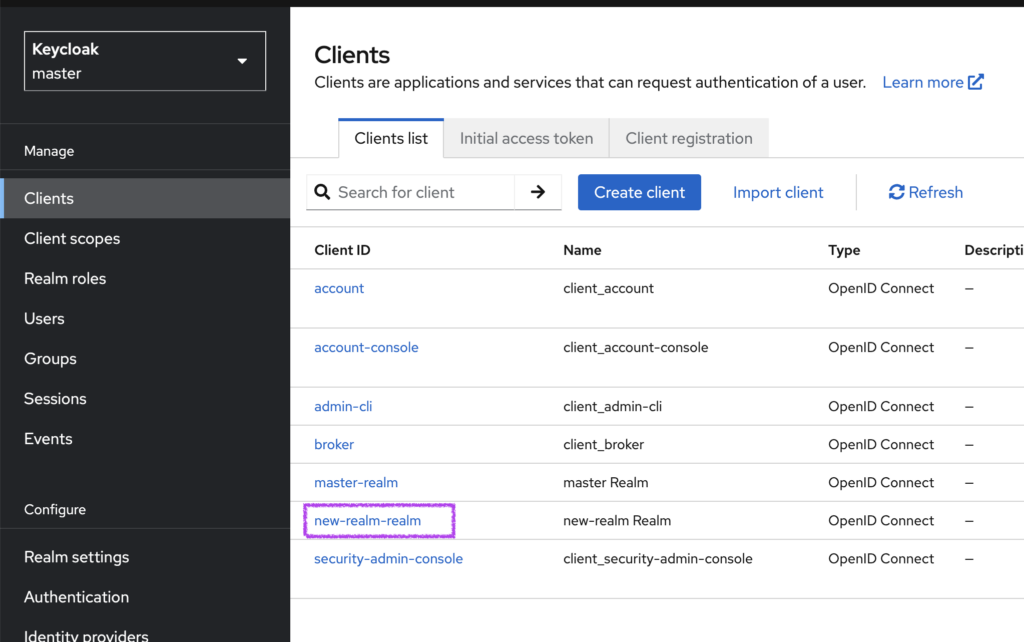
In addition to the default clients, Keycloak generates realm-specific management clients in the master realm. For example, if you have a realm named new-realm, the master realm will include a client named new-realm-realm. These clients allow administrators in the master realm to manage the new-realm realm with dedicated roles.

Ensure these clients are properly configured with specific permissions to prevent unauthorized access.
Step 4: Minimize Attack Surface
- Disable unused clients to reduce potential vulnerabilities.
- Use specific redirect URIs to avoid open redirects and misuse.
- Limit token scopes to adhere to the principle of least privilege.
Step 5: Implement Best Practices
Enhance your realm’s security by:
- Rotating cryptographic keys regularly to secure tokens.
- Enforcing HTTPS for all communications.
- Enabling audit logging to monitor and review user and admin activities.
Step 6: Test Your Setup
Simulate common user and admin flows to validate your configurations. Monitor logs for errors or suspicious activities.
Conclusion
While default clients provide a strong foundation for managing Keycloak, thoughtful configuration is essential to ensure security and operational efficiency. Regularly review and update their settings, enforce strict access controls, and disable unused clients.

