
Last updated: March 2026
As Kubernetes continues to gain popularity among DevOps professionals, tools like ArgoCD are becoming essential for managing and automating deployments. In this guide, we’ll walk you through deploying Keycloak, a powerful open-source identity and access management solution, in a Kubernetes cluster using ArgoCD. Whether you’re using Amazon EKS, Azure AKS, Google GKE, or another Kubernetes platform, this guide will be relevant to you.
What is ArgoCD?
ArgoCD is a declarative, GitOps continuous delivery tool for Kubernetes. It automates the deployment of applications by monitoring Git repositories and ensuring that the state of your Kubernetes cluster matches the desired state defined in the Git repository. If you know about Terraform, ArgoCD is to Kubernetes what Terraform is to infrastructure provisioning. You enforce the state of your application with a definition in your Git repository.
Key Features of ArgoCD:
- Declarative GitOps: Manages applications through Git repositories.
- Self-Healing: Automatically syncs and corrects drift between the desired state and the live state of your applications.
- Multi-Cluster Support: Deploys applications to multiple Kubernetes clusters.
- Integrated Security: Supports role-based access control (RBAC) and single sign-on (SSO). We can cover that in another blog where we use Keycloak as ArgoCD’s IdP.
- Argo Rollouts: Provides advanced deployment strategies, including blue-green deployments, canary releases, and automated rollbacks.
Why Use ArgoCD for Deploying Keycloak?
Pros of Using ArgoCD:
- Automated Deployments: Ensures your applications are always up-to-date with the desired state defined in your Git repository. If anyone dares making a change manually, you are assured it will have no effect.
- Easy Rollbacks: Quickly revert to previous versions if something goes wrong.
- Enhanced Visibility: Provides a clear and auditable deployment history. Specially if you add security controls on your deployment repository.
- Scalability: Easily manage and scale deployments across multiple clusters.
- Consistency: Ensures consistent environments across development, staging, and production.
If you’d rather skip the infrastructure management entirely, Skycloak’s managed Keycloak hosting handles deployment, scaling, SSL, and backups out of the box. For additional cluster-level recommendations, see our Top 7 Keycloak Cluster Configuration Best Practices.
Steps to Deploy Keycloak Using ArgoCD
Prerequisites
- A Kubernetes cluster (EKS, AKS, GKE, or any other Kubernetes service). We do not cover how to get one. A search or a chat with an AI tool will provide you how.
kubectlconfigured to interact with your Kubernetes cluster.- A Git repository to store your Keycloak manifests. We will deploy a simple
podthrough adeployment. We can take a look at some nuances when using ahelm chartin another post.
Step 1: Install ArgoCD
If ArgoCD is not already installed in your cluster, you can install it using the following commands:
kubectl create namespace argocd
kubectl apply -n argocd -f https://raw.githubusercontent.com/argoproj/argo-cd/stable/manifests/install.yaml
Once installed, you can access the ArgoCD UI by port-forwarding the ArgoCD server service (don’t worry about the certificates for now. We just want to test locally):
kubectl port-forward svc/argocd-server -n argocd 8080:443Step 2: Configure ArgoCD
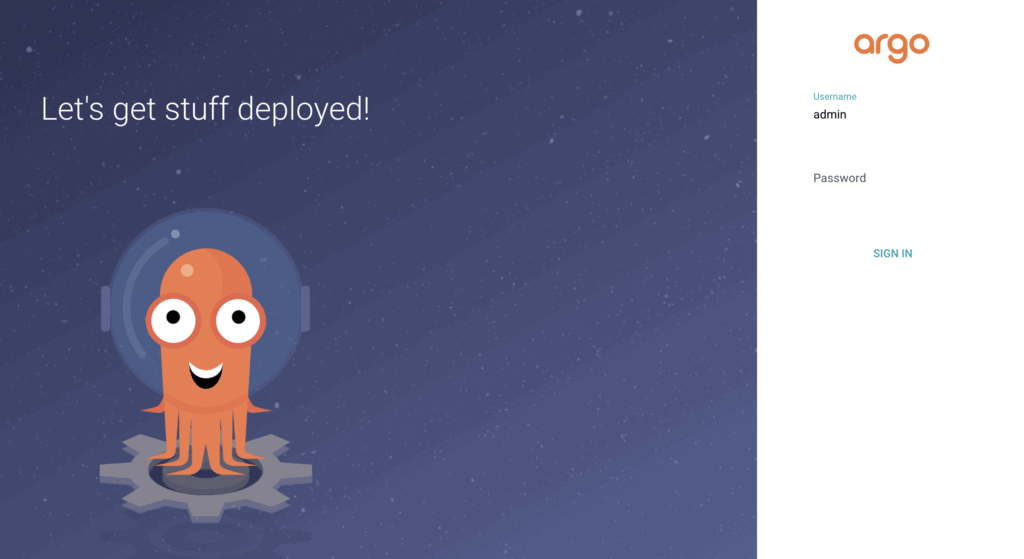
Login to the ArgoCD UI using the initial admin password:
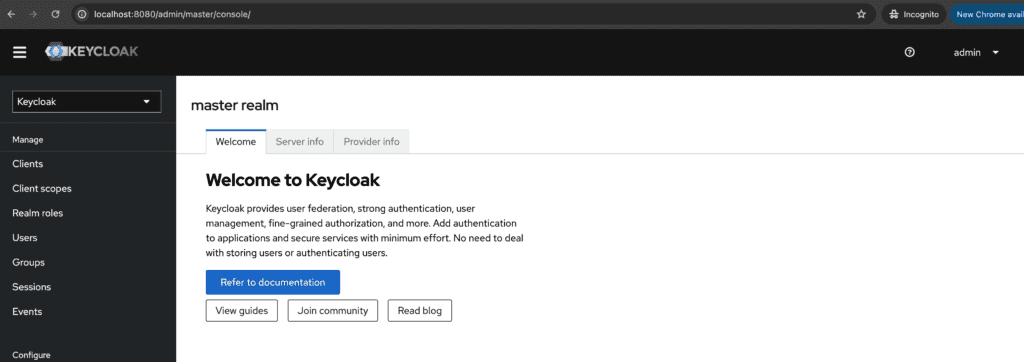
kubectl get secret argocd-initial-admin-secret -n argocd -o jsonpath="{.data.password}" | base64 -d; echoNavigate to https://localhost:8080 and log in with the username admin and the password obtained above.
Step 3: Prepare Keycloak Manifests
Create a directory in your Git repository to store your Keycloak Kubernetes manifests. For example, create a keycloak directory and add the following keycloak-deployment.yaml and keycloak-service.yaml files:
Warning: The
start-devcommand used below is intended for development and testing only. It disables various security features and should never be used in production. For production deployments, usestartwith proper configuration including a production database, HTTPS, and hostname settings. See the Keycloak production guide for details.
keycloak-deployment.yaml:
apiVersion: apps/v1
kind: Deployment
metadata:
  name: keycloak
  namespace: keycloak
spec:
  replicas: 1
  selector:
    matchLabels:
      app: keycloak
  template:
    metadata:
      labels:
        app: keycloak
    spec:
      containers:
        - name: keycloak
          image: quay.io/keycloak/keycloak:24.0.5
          args: ["start-dev"]
          env:
            - name: KEYCLOAK_ADMIN
              value: "admin"
            - name: KEYCLOAK_ADMIN_PASSWORD
              value: "admin"
            - name: KC_PROXY
              value: "edge"
          ports:
            - name: http
              containerPort: 8080
          readinessProbe:
            httpGet:
              path: /realms/master
port: 8080keycloak-service.yaml:
apiVersion: v1
kind: Service
metadata:
  name: keycloak
  namespace: keycloak
spec:
  ports:
  - port: 8080
    targetPort: 8080
  selector:
    app: keycloak
  type: LoadBalancer
The LoadBalancer type is optional as we will forward the keycloak container port to our local network. For a quick way to generate Docker Compose files for local Keycloak testing, try our Keycloak Docker Compose Generator.
Step 4: Create a Namespace for Keycloak
There are multiple ways to create the namespace: from ArgoCD or using another resource YAML file are 2 examples. In this example, we will simply create the resource from the command line using kubectl:
kubectl create namespace keycloakStep 5: Configure repository credentials
Access ArgoCD’s UI, then go to Settings and Repositories:
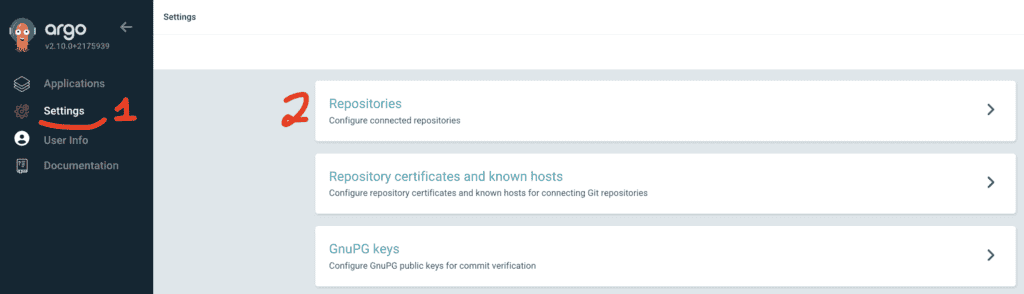

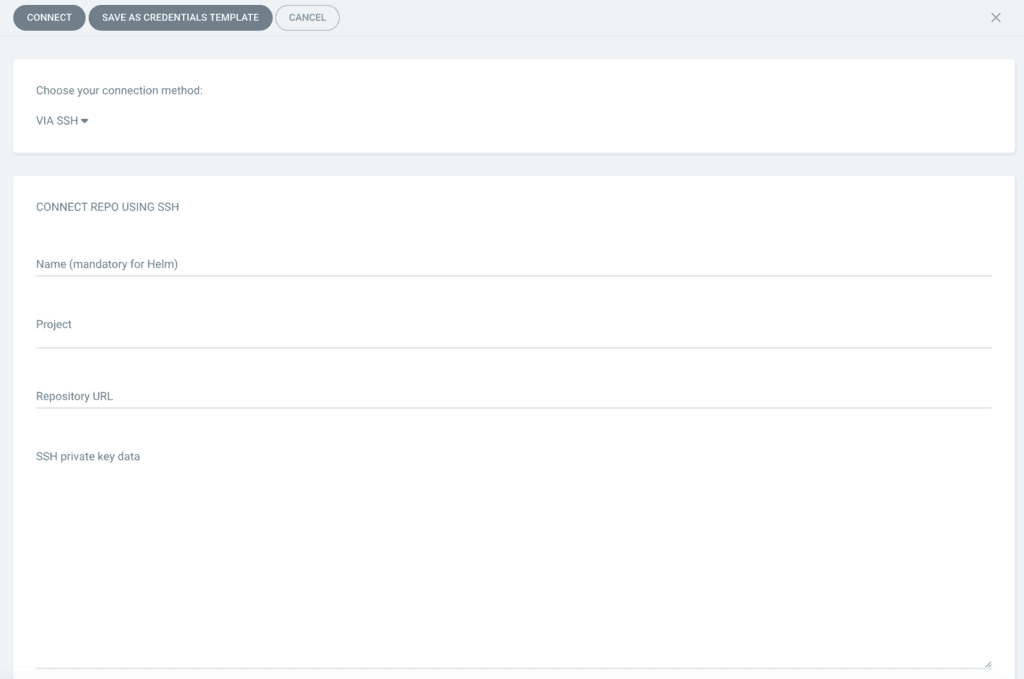
- Select the git protocol you wish to use: SSH, HTTPS, etc.
- Fill in your connection details
- Save by clicking on Connect
Step 6: Add the Application to ArgoCD
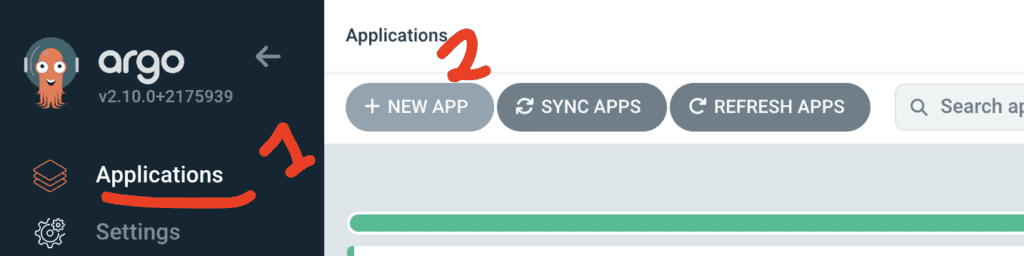
Go to Applications from the UI, then click on NEW APP. From there fill in the appropriate information:
- Application Name:
keycloak - Project:
default - Sync Policy: Automatic (it will poll your git repo every x minutes to synchronise your application with new changes. Using a webhook is also possible). You will also have options to prune and self heal the application. I will let you discover those by yourself.
- Repository URL: URL of your Git repository
- Path: Path to the
keycloakdirectory in your repository that contains the Kubernetes YAML definitions. - Cluster: URL of your Kubernetes cluster. If ArgoCD is installed in the same cluster as Keycloak, use the option from the dropdown menu (https://kubernetes.default.svc)
- Namespace:
keycloak
If you click on edit as YAML, your configuration should look like so:
apiVersion: argoproj.io/v1alpha1
kind: Application
metadata:
  name: keycloak
spec:
  destination:
    name: ''
    namespace: keycloak
    server: 'https://kubernetes.default.svc'
  source:
    path: keycloak
    repoURL: '<YOUR-REPO>.git'
    targetRevision: HEAD
  sources: []
  project: default
  syncPolicy:
    automated:
      prune: false
      selfHeal: false
Click Create to add the application.

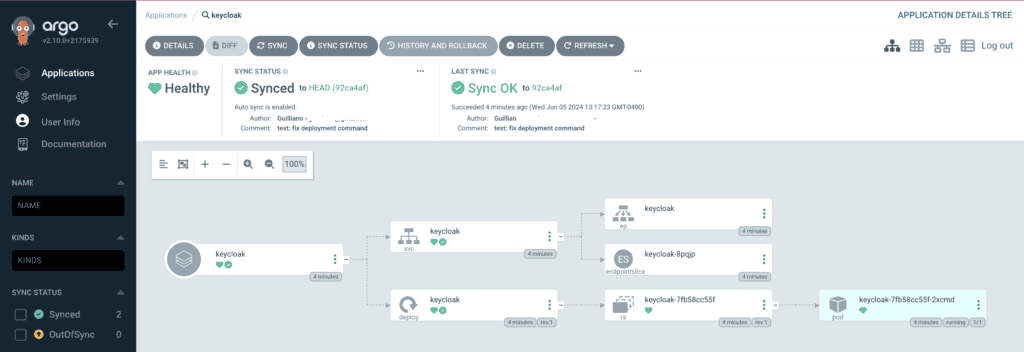
Step 7: Sync the Application
Once the application is created, click Sync to deploy Keycloak to your Kubernetes cluster. Argo will monitor the Git repository and ensure that the cluster state matches the repository state.
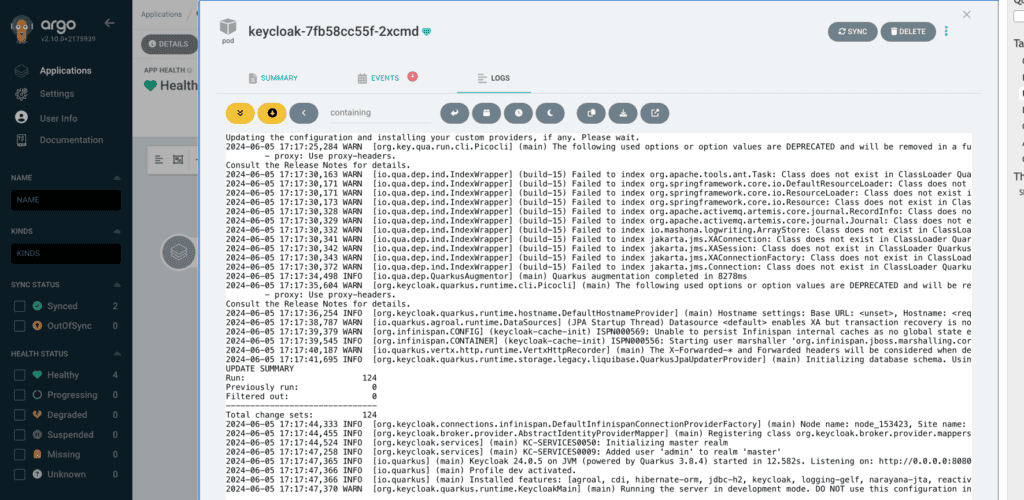
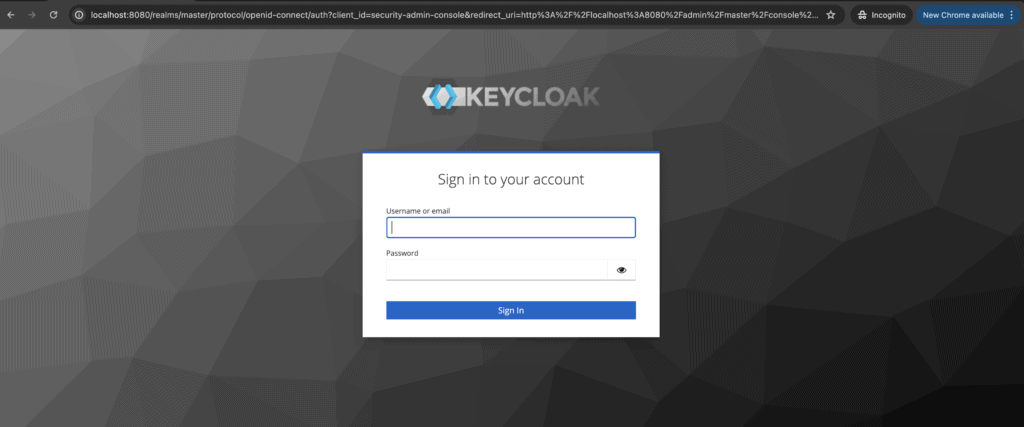
To access your Keycloak instance, you can now port-forward:
kubectl port-forward -n keycloak svc/keycloak 8080:8080
Once your Keycloak instance is running, make sure to follow our security best practices for production environments. For detailed Keycloak configuration guidance, refer to the Skycloak documentation.

Ready to simplify your authentication?
Deploy production-ready Keycloak in minutes. Unlimited users, flat pricing, no SSO tax.
