Create Your Keycloak Instance
This guide will walk you through creating and configuring your Keycloak instance on Skycloak. But before you start, let’s define what a Keycloak cluster is.
What is a Keycloak cluster?
In general terms, a cluster refers to a group of similar things or people positioned or occurring closely together.
In distributed cloud computing, a cluster is a set of connected computers (nodes) that work together as a single system to provide high availability, load balancing, and fault tolerance. For example, popular web services like Netflix or Amazon use clusters of servers to handle millions of requests without interruption.
A Keycloak cluster follows this same principle: it’s a group of Keycloak servers/instances working together to provide uninterrupted authentication and authorization services. We use the term “cluster” because high availability is a core attribute of our system.

Cluster Sizes and Components
We offer several cluster configurations to meet different needs:
Small Cluster
- Single Keycloak instance
- Not technically a cluster, but can be scaled up with our clustering add-on
- Suitable for development and testing environments
Medium Cluster
- 2 Keycloak instances
- Distributed across 2 data centers
- Sub-10ms latency between instances
- Ideal for production environments with moderate traffic
Large Cluster
- Minimum of 3 Keycloak instances
- Distributed across 3+ data centers
- Provides enhanced fault tolerance
- Recommended for high-traffic production environments
Custom Cluster
- Dedicated Infinispan clusters for specialized needs
- Suitable for:
- Extreme high availability requirements
- Massive user volumes
- Custom deployment configurations
- Note: Most use cases are well-served by small, medium, or large clusters with embedded Infinispan
Prerequisites
- A verified Skycloak account
- An active subscription plan or a free trial
Creating the Cluster
- Navigate to the clusters page from the sidebar or here
- Click “Create Cluster” button
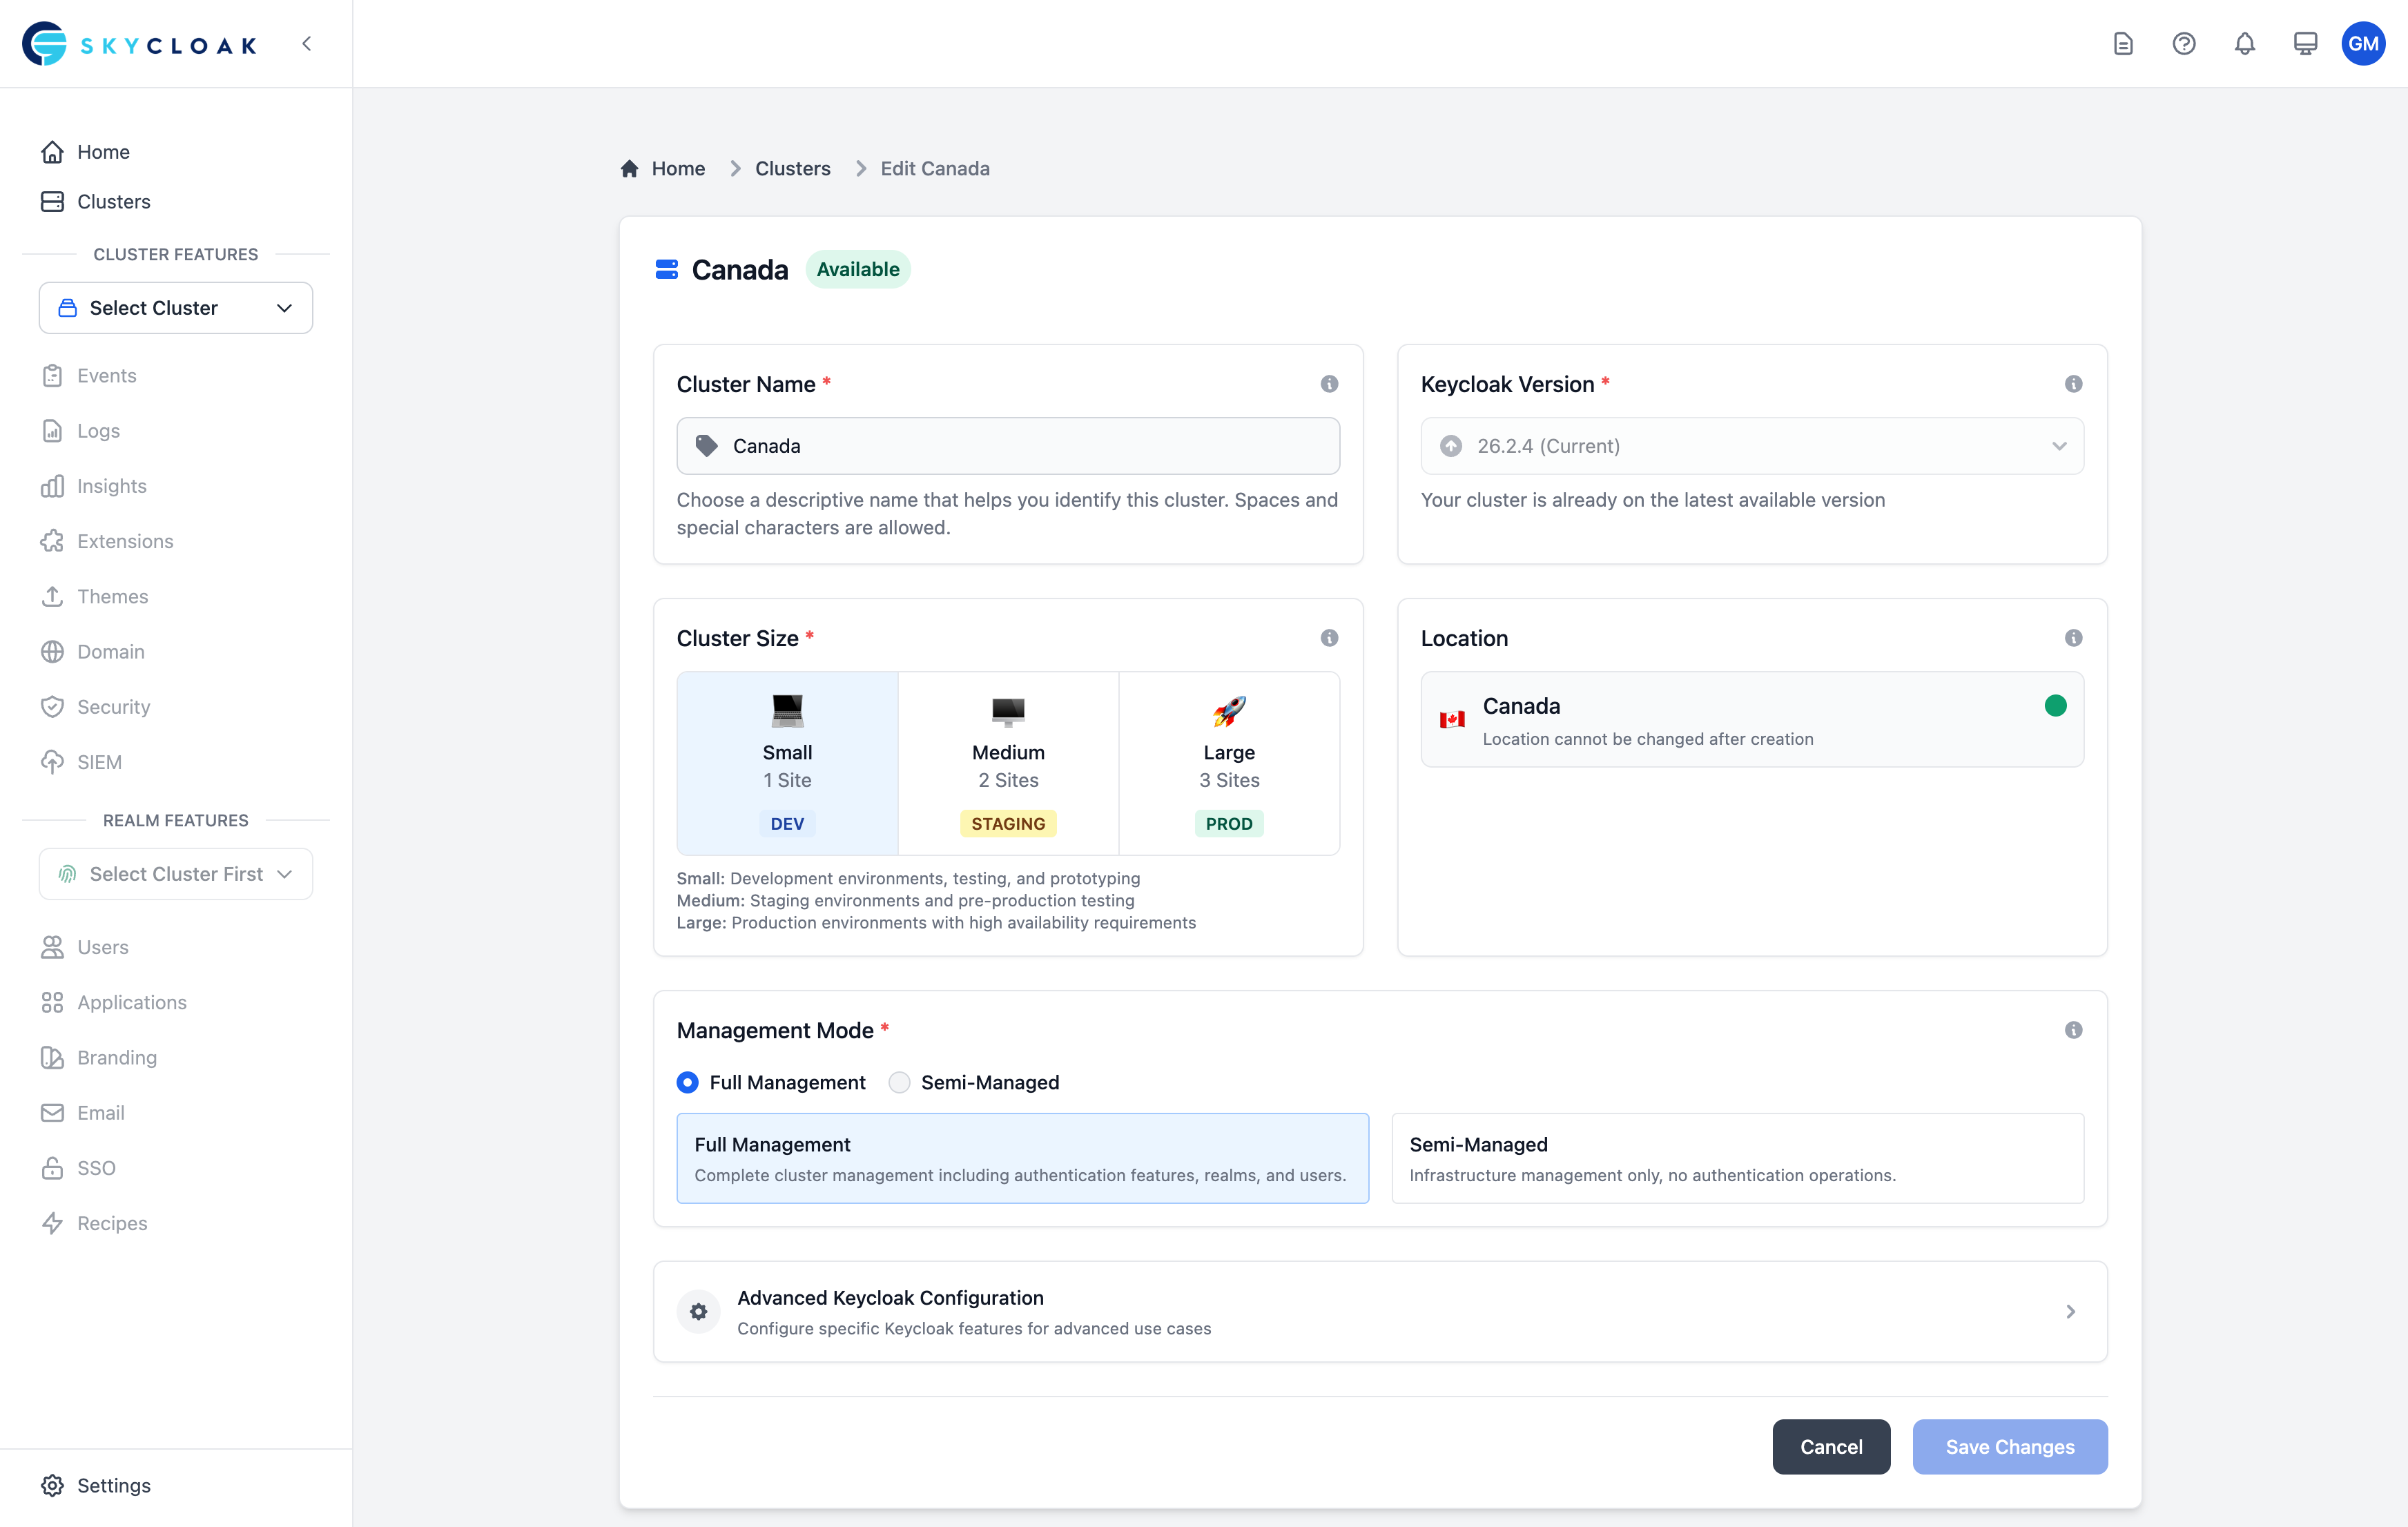
- Choose your configuration:
- Cluster name - A descriptive name for your cluster
- Size - Small, Medium, or Large based on your needs
- Region - Choose the region closest to your users
- Keycloak Version - Latest stable version recommended
- Initial admin password - Secure password for admin access
- Click “Create” button

Once submitted, your cluster will begin provisioning. Your dashboard will show the cluster in a “Creating” state until it’s fully available. This process typically takes 2-5 minutes, and you’ll receive an email notification when it’s ready.
Accessing Your Cluster
After your cluster is created, you can access it directly from your dashboard. Click on the cluster card to view cluster details.

From the cluster details page, you can:
- Go to Console - Open the Keycloak administration console
- View cluster status - Monitor health and uptime
- Manage settings - Update configuration as needed
Cluster Identifier
Each cluster is assigned a unique identifier that determines its public URL. Your cluster will be accessible at:
https://<unique-cluster-identifier>.app.skycloak.ioKeep this URL secure as it provides access to your authentication infrastructure. While the URL is public by design, you should treat it as sensitive information and share it only with trusted team members and applications that need to integrate with Keycloak.
Admin Console Security
⚠️ Security Notice: By default, the administration console is publicly accessible at your cluster URL. This means anyone with the URL can attempt to access your admin console.
To enhance security, you can:
- Use the Enterprise plan which includes firewall rules and VPN connectivity options
- Add the Security Firewall add-on (available with Dev plan or higher) to restrict admin access
For more security options, check out our Add-ons page.