1. Access Your Cluster 0:02
- Ensure you are in your cluster.
- Confirm that your Realm is set up.
2. Navigate to SSO Page 0:12
- Go to the SSO page to add an identity provider.
3. Select Microsoft as Identity Provider 0:24
- Click ‘Add a provider’.
- Choose ‘Microsoft’ from the list of providers.
4. Open Microsoft Console 0:41
- Go to the Microsoft Azure portal.
- Navigate to the app registration page.
5. Create a New App Registration 1:08
- Click on ‘New registration’.
- Name your application (e.g., ‘My Super Cool Product’).
- Choose supported account types (e.g., single tenant).
6. Add Web Platform and Redirect URI 1:29
- Select ‘Web’ as the platform.
- Copy the provided Redirect URI from your cluster.
7. Register the Application 2:17
- Paste the Redirect URI into the appropriate field.
- Click ‘Register’.
8. Create Client Secret 2:25
- Navigate to ‘Certificates and secrets’.
- Click ‘New secret’.
- Name the secret (e.g., ‘My Product’) and click ‘Add’.
9. Copy Client ID and Secret 2:40
- Copy the value of the secret.
- Go to the overview page to copy the application client ID.
10. Input Client ID and Secret in SSO Setup 3:08
- Paste the client ID and secret into the SSO setup page.
11. Test Connection 3:23
- Click ‘Test connection’ to ensure everything is working.
12. Complete Setup 3:30
- Click ‘Complete’ to finalize the setup.
13. Enable Microsoft in Branding Page 4:01
- Go to the branding page.
- Ensure Microsoft is enabled for SSO.
14. Customize Branding (Optional) 4:10
- Add logos or change text as desired.
- Apply the branding.
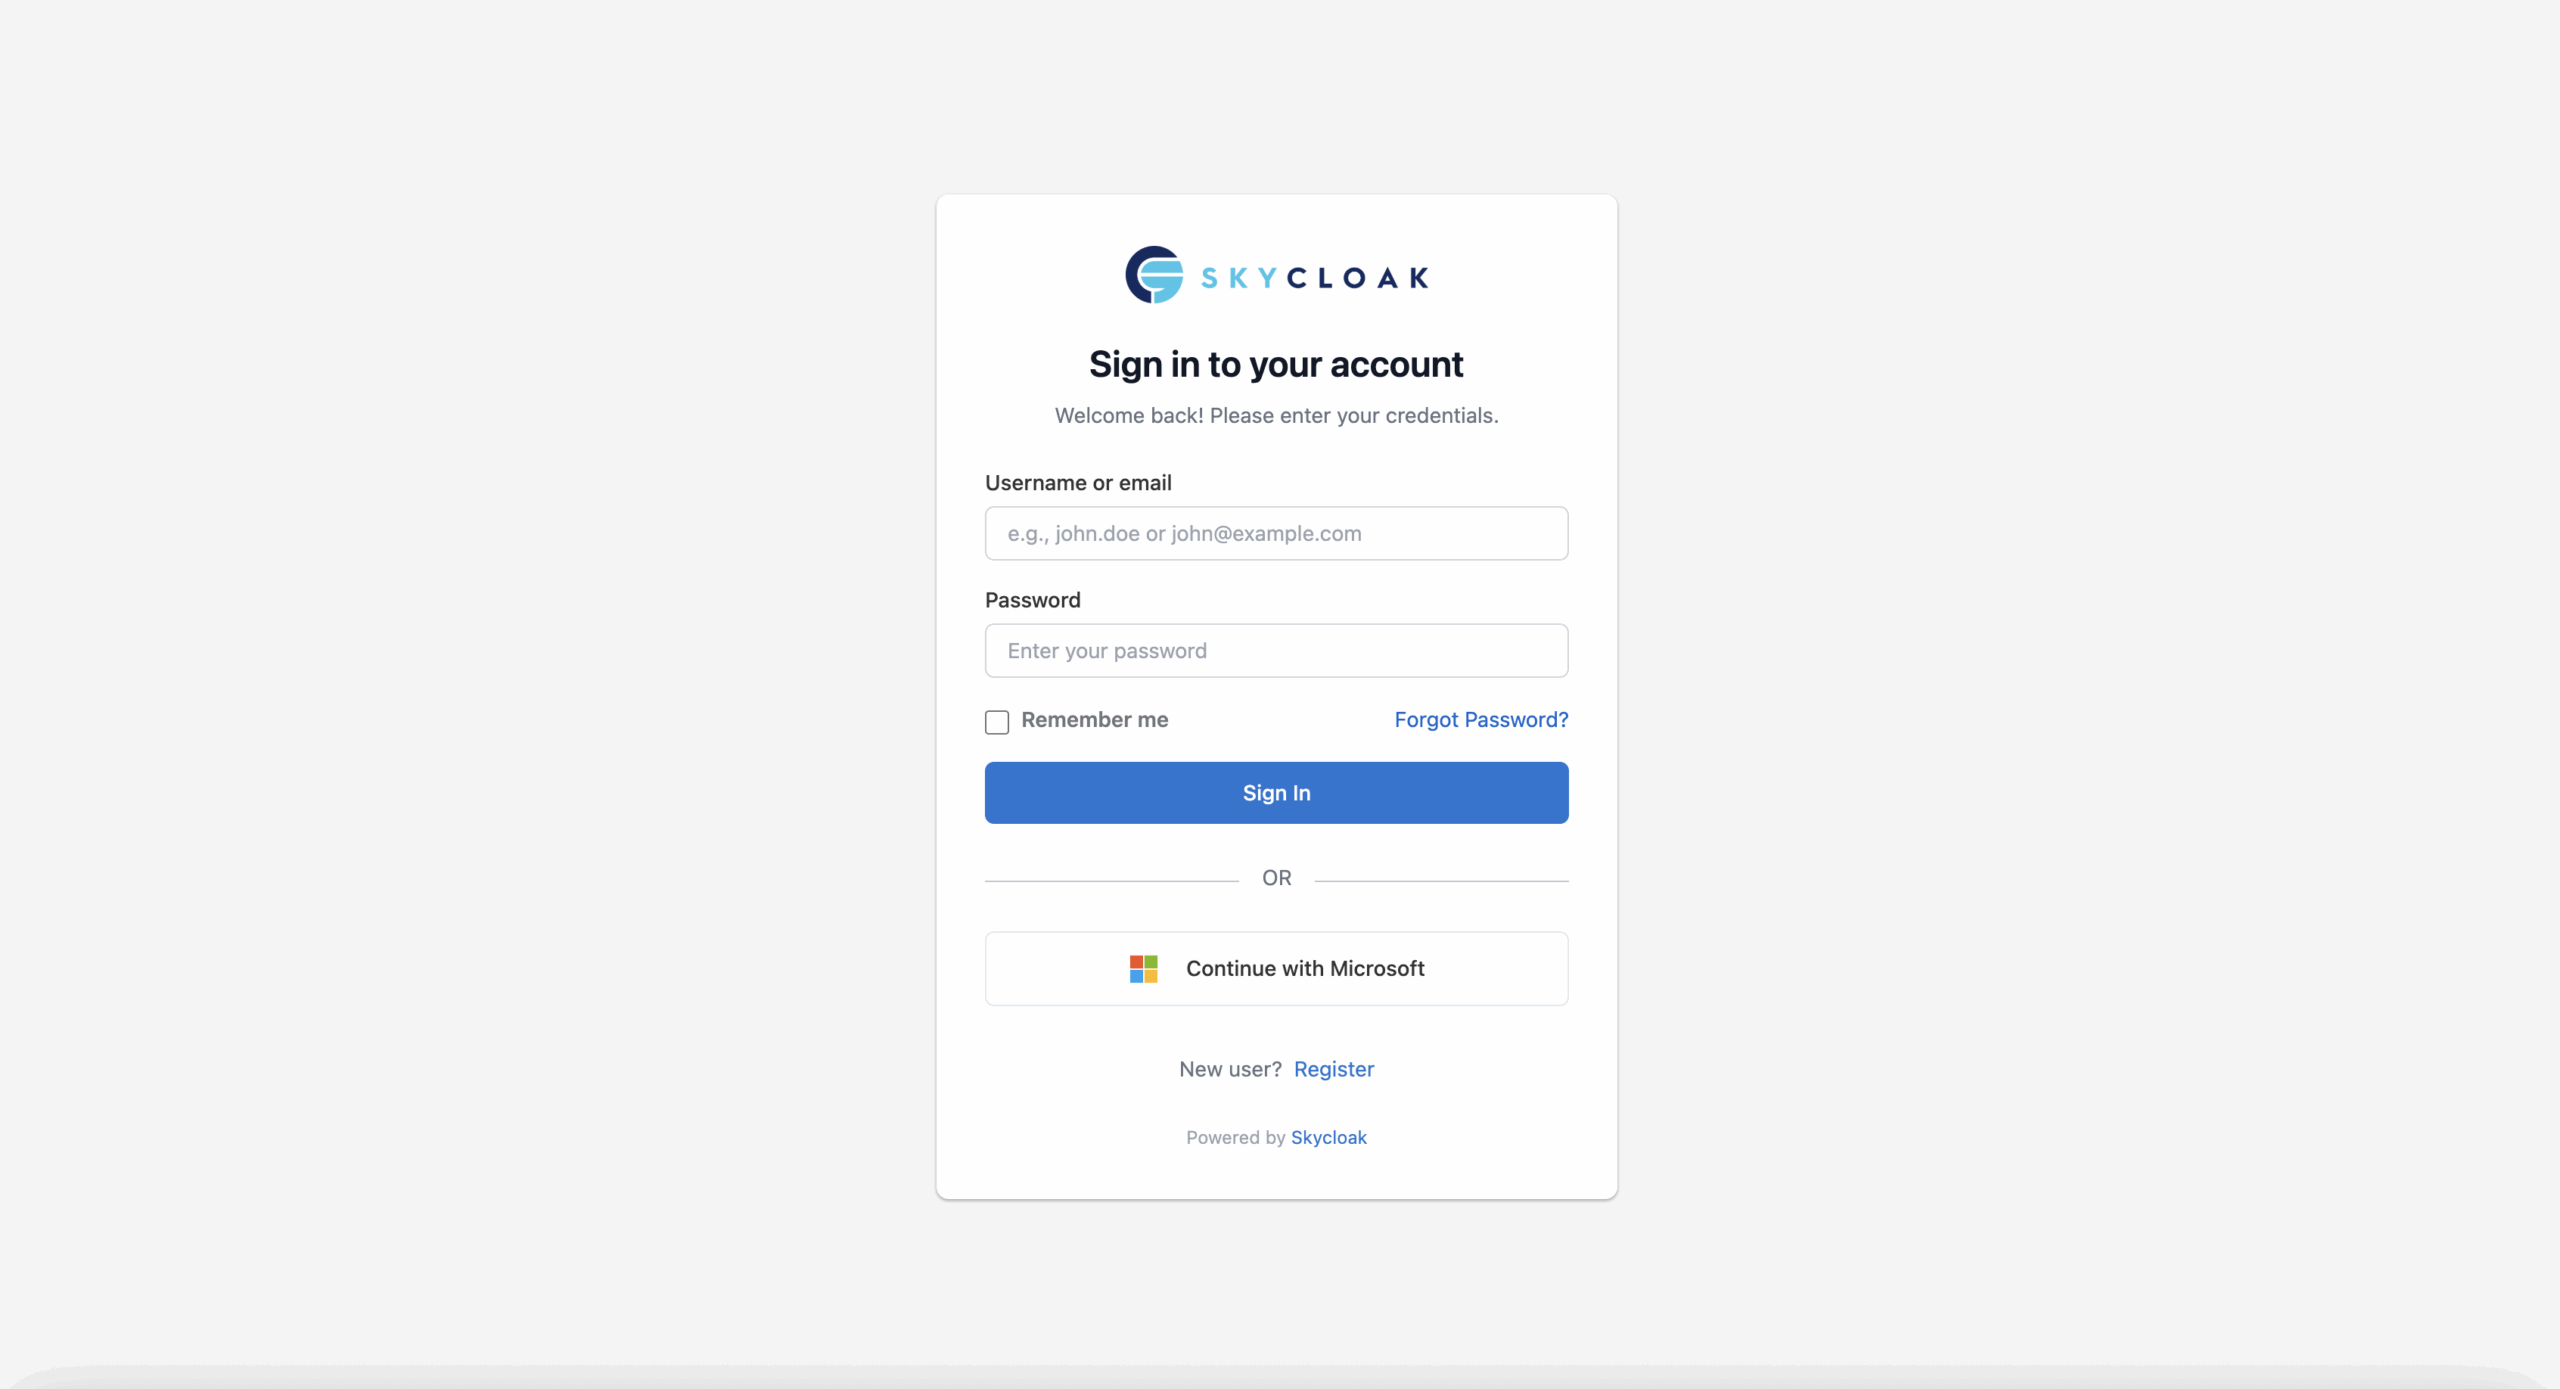
15. View Live Setup 4:38
- Click ‘View live’ to see the setup in action.
- Test logging in with Microsoft.
